Skin Encompass
Features
Want to customize Encompass to fit your branding style and separate it from the rest? Or perhaps you are just looking for a way to visually segment your different Encompass environments. With this tool, you can apply customizations to the Encompass UI to fit your needs and organizational branding. Globally customize the colors applied to Encompass buttons, panels, and more 🌈
caution
Skin Encompass overrides may result in accessibility issues if the changes are not thoroughly tested. Additionally, there is a performance impact when using the tool.
Setup
- In Encompass
- Click on the Settings Menu
- Expand the Community Menu
- Click on PluginManagement

- Select SkinEncompass as the plugin
- Enable All Access or configure more fine tuned access using either Personas or Users. The users you enable will be those that will be able to see the Skin Encompass themes applied.
info
Only those that have been given access to edit PluginManagement will be able to edit the Skin Encompass themes.
- Logout of Encompass
- Log back in to Encompass as a user that has been given access to the Skin Encompass tool in step 6 above as well as PluginManagement Settings
- Click on the Settings Menu
- Expand the Community Plugin option
- Click on PluginManagement

- Select SkinEncompass as the plugin
- Click on the Configure button
- The SkinEncompass_Form should now load:
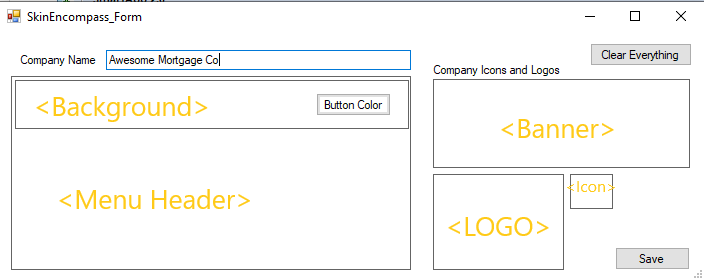
Company Name
You can set a company name by defining it in the Company Name field. After doing so and saving your changes, users that have been given access to the Skin Encompass tool will see the company name applied to the Encompass UI:
Background Color
To set the default background color for Encompass, double click in the Background Color section:
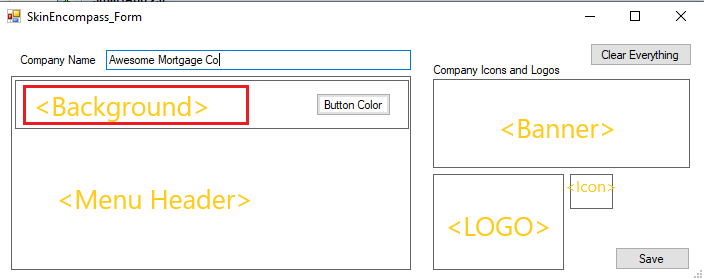
A modal will display and allow you to select a color theme by selecting a default theme or choosing Define Custom Colors and defining an RGB value for the color to use. After selecting a color, save your changes. Users that have been given access to the Skin Encompass tool will see the background color applied throughout the Encompass UI.
Menu Header Color
warning
A dark color is not suggested for the Menu Header Color as it will make text difficult to read.
To set the default menu header color for Encompass, double click in the Menu Header Color section:
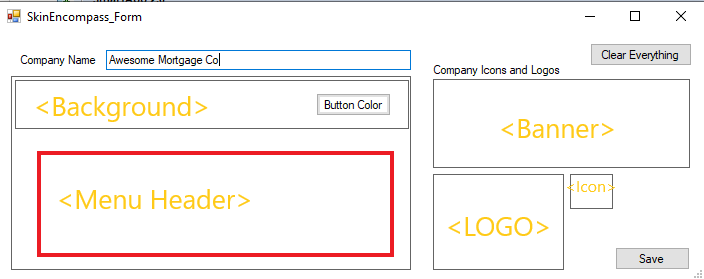
A modal will display and allow you to select a color theme by selecting a default theme or choosing Define Custom Colors and defining an RGB value for the color to use. After selecting a color, save your changes. Users that have been given access to the Skin Encompass tool will see the menu header color applied in different places throughout the Encompass UI, for example:
Button Colors
To set the default button colors for Encompass, click on the Button Color button and select a color theme by selecting a default theme or choosing Define Custom Colors and defining an RGB value for the color to use:
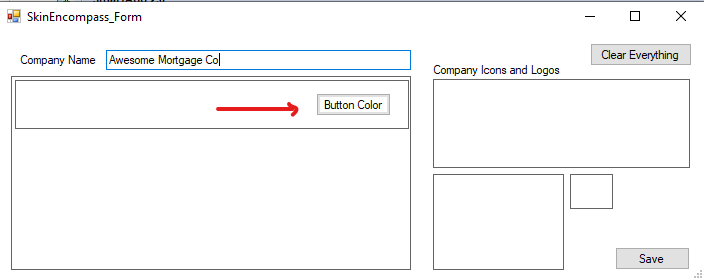
After doing so and saving your changes, users that have been given access to the Skin Encompass tool will see the button colors applied throughout the Encompass UI, for example on the Pipeline tab:

Icon
A custom icon can be applied to the Encompass UI by clicking on the icon input box in the SkinEncompass settings menu:
![]()
A modal will display and allow you to select an icon image saved to your PC ( a smaller icon size is recommended such as 20x20 ). After selecting an icon image, save your changes. Users that have been given access to the Skin Encompass tool will see the icon applied to the Encompass UI at the uppermost top left corner of the Encompass UI as well as other windows such as the eFolder window:
Logo
A custom logo can be applied to the Encompass UI by clicking on the logo input box in the SkinEncompass settings menu:

A modal will display and allow you to select a logo image saved to your PC. After selecting a logo image, save your changes. Users that have been given access to the Skin Encompass tool will see the logo applied to the Encompass UI throughout on controls that support it.
Banner
A custom banner can be applied to the Encompass UI by clicking on the banner input box in the SkinEncompass settings menu:
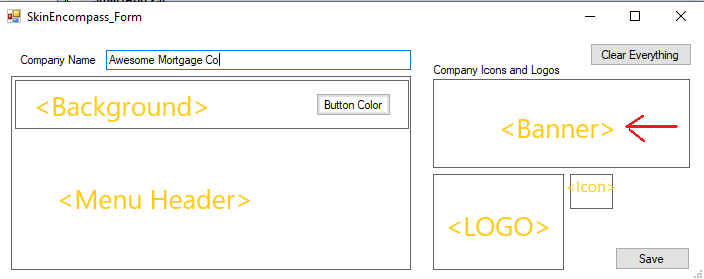
A modal will display and allow you to select a banner image saved to your PC. After selecting a banner image, save your changes. Users that have been given access to the Skin Encompass tool will see the banner applied to the Encompass UI throughout on controls that support it.